
Baldrick8 Manual
Last updated 21 Sep 2026
Baldrick8 Introduction
Used in installations around the world, the Baldrick8 powers everything from light-up shelves to theatre productions.
With our custom hardware and firmware, this small board packs a punch when it comes to features and can go toe to toe with boards of all sizes and prices.
- Dual Power Inputs
- Each input powers 4 pixel ports
- Supports 5V to 48V inputs, or 5V to 24V on 1.0 versions
- Reverse polarity protection
- Each port is fused with 7.5A fuses
- Independent voltage management, so you can run 5V on one side and 24V on the other
- Advanced power management
- With higher voltage support, dual inputs and reverse polarity protection, our power inputs allow longer runs whilst keeping your setup protected
- 8 Pixel Outputs
- Supports 2,250 channels per port, which is 750 RGB pixels, at 40 FPS
- RGBW pixels supported
- Works with WS2811-compatible pixels
- Also supports UCS1903, SM16703P and UCS2904 protocols
- Additional protocols are always being added to our firmware
- With the Baldrick8, you get full access to 750 pixels per port at 40 FPS. No banks, no pixel sharing, no rotary dials, just plug and play
- Flexible Input Support
- Compatible with DDP, Art-Net, E1.31 and sACN
- Designed to integrate with industry-standard lighting desks, including ChamSys and MA Lighting
- Built into xLights as a controller, ILightThat/Baldrick8, making setup and pushing configuration simple
- Customers have showcased the Baldrick8 using MadMapper, ELM (Enttec), LOR, sacnView, Resolume Arena and more (just don’t ask us for technical support with them!)
- Even without direct integration, we’ve designed the Baldrick8 to work with common protocols used in home shows, the events industry and everything in between
- 3 Input Ports
- Designed to work with almost any input: buttons, motion sensors, reed switches, step plates and more. As long as it connects a circuit, it can work
- Connects to our Turnip Network to easily add interactivity to your event
- Automatically finds and configures other Baldrick Boards, allowing you to control effects and ports from them
- Codeless FPP integration lets you start and stop the show, change the volume and play a random song without any technical knowledge
- Easy-to-use built-in defaults for configuration, testing and those “oh no” moments
- You might not have a use for the inputs yet, but when adding interactivity becomes as easy as adding a button and clicking a few links, they can quickly come in handy
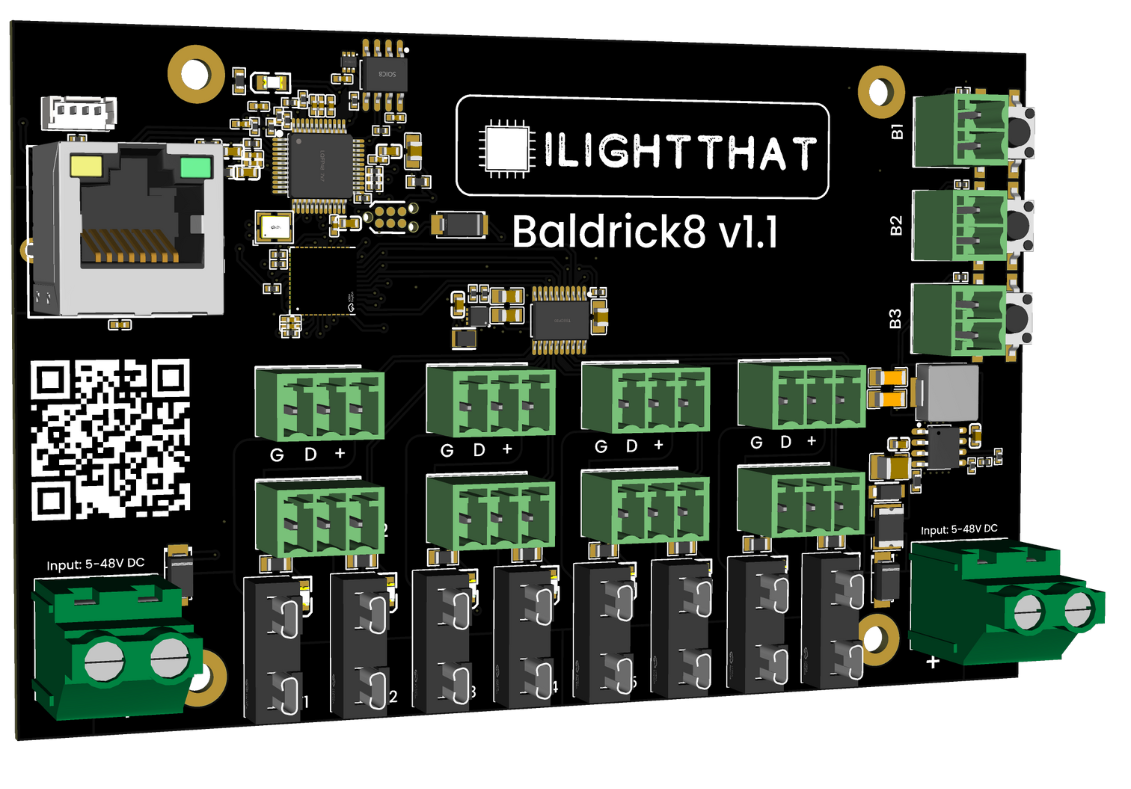
- The Baldrick8 is a Medium size board.
- Baldrick boards currently come in Small, Medium and Large.
- All of our boards have 3D printable mounts available for free on the Baldrick Website
- Baldrick Boards follow a size guide allowing you to easily create and reuse mounts, containers and fixings
- The CunningFX onboard engine
- Allows for static lighting effects perfect for houses, interactive stations or art installations
- With multiple presets, layering and over 10 effects all easy to use.
- CunningFX allows you to use your controller without a show player and get something pretty impressive
Board Tour
We’ve produced two different versions of the Baldrick8 board so far, but the only real difference is that the version 1.0 boards can take 5v - 24v and the 1.1 boards can take 5v - 48v.
The way you tell the difference between the boards is that if under the ILightThat logo on your board it says 1.1 then you’ve got a 1.1 board, if not then you’ve got a 1.0 board.
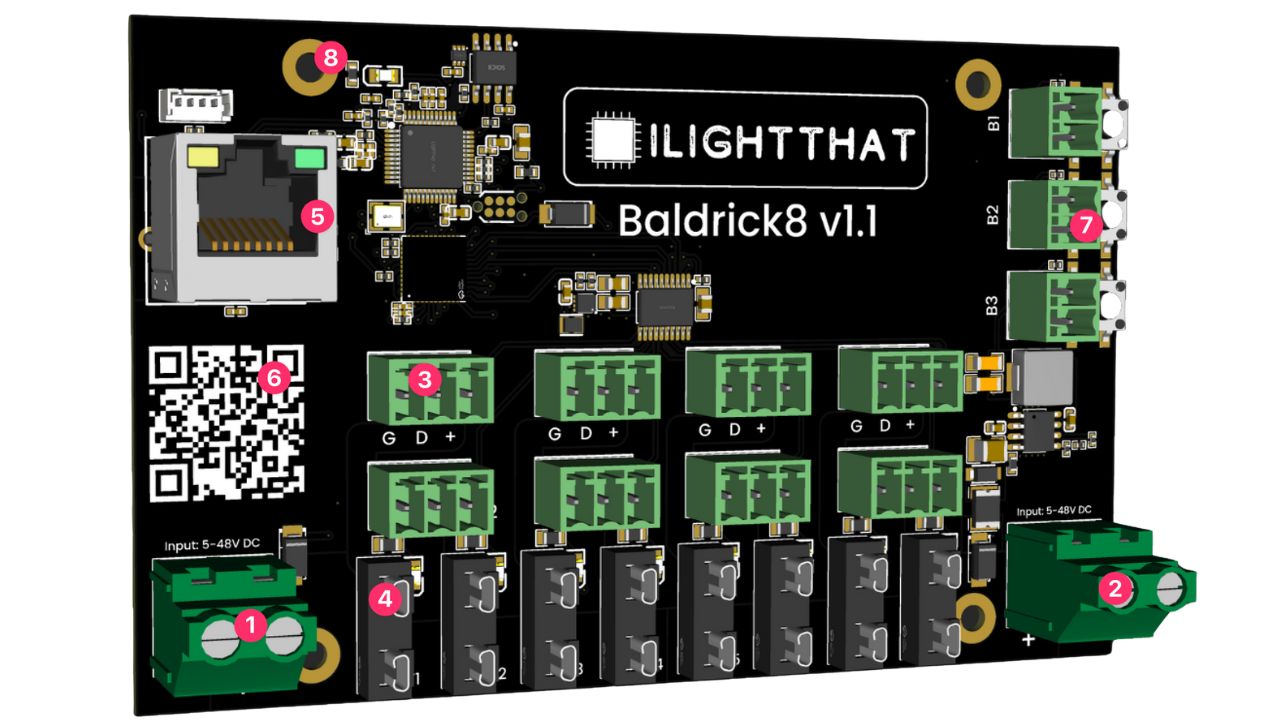
- Left Power Jack - See below.
- Right Power Jack: Our screw jacks are voltage independent (each side can take different voltages) and will handle 5v-48v (24v for 1.0 boards) they will step down to power the components and have reverse polairty protection. We recommend 10AWG cable for these inputs.
- Pixel Phoenix Connectors - Ordering G (Ground) D (Data) + (Positive / Voltage).
- Fuse Holder - Comes profilled with 7.5A fuses, these easy to access fuses are for protection and their location makes them easy to change.
- Ethernet Port - The Baldrick8 does not run over wifi to ensure the high FPS that this controller is designed for we’ve added a 100mb ethernet port to connect to your show network.
- QR Code - Each Baldrick controller has a QR code on which takes you to a dedicaed webpage for that device with an easy link to the manual and help docs, perfect for when you are outside and just need a quick reminder how something works.
- Button connectors - The Baldrick8 has three input ports and test buttons, as well as the ability to do amazing thing with The Turnip Network, the onboard test buttons have prebuilt actions when booting the board
- Pressing and holding B1 - Will reset the network settings of the board (if you’ve set a static IP or hostname for instance)
- Pressing and holding B2 - Will set the board IP address to 192.168.68.68, useful if you are having trouble with your DHCP server.
- Pressing and holding B3 - oh no this will reset the board to factory settings, wiping all settings, configuration and firmware from the device. (Do not do this if you have no internet access, you will need to redownload the firmware)
- Mounting Holes - The Baldrick8 is a Medium Baldrick board so will fit all Medium mounts and connections. DO NOT DRILL out these holes to make them fit the screws you’ve got already, doing this will void any warranty. If you think it’s silly that we are putting this in the manual, ask yourself why we’d put it in the manual.
Getting started
Got a Baldrick8. Here’s how to power it, flash it, wire pixels, and talk to xLights.
Unplug the power supply before you change any wiring. Check it twice before you switch on.
Step 1: Plugging in Your Controller
Always Use a Power Supply
Never, ever EVER EVER plug your controller directly into the wall outlet, it will go bang and you’ll have to buy another one and explain to your partner what that burn mark on the kitchen table is.
You’ll notice that a British plug has three wires and our power jack inputs only have two - that’s because you need to put a power supply in between them.
We recommend the use of Meanwell Power Supplies.
The Power Supply Explained
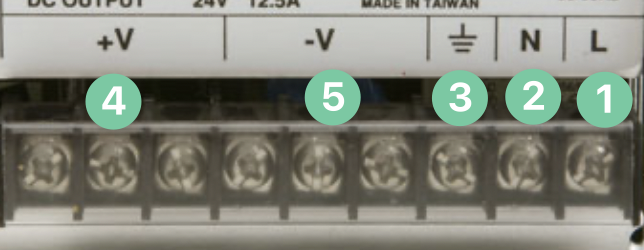
- Live - The live wire carries electricity from the power source to appliances or circuits, supplying the energy needed for operation. On a British plug this is generally BROWN.
- Neutral - This carries the electricity back to the power source. On a British plug this is generally BLUE.
- Earth - This grounds electrical systems, redirecting excess current safely into the ground to prevent shocks and fires. On a British plug this is generally GREEN / YELLOW.
- +V - The positive voltage output of the power supply, typically you’d attach a RED cable to this.
- -V - The negative voltage output of a power supply, typically you’d attach a BLACK cable to this.
Powering the Board
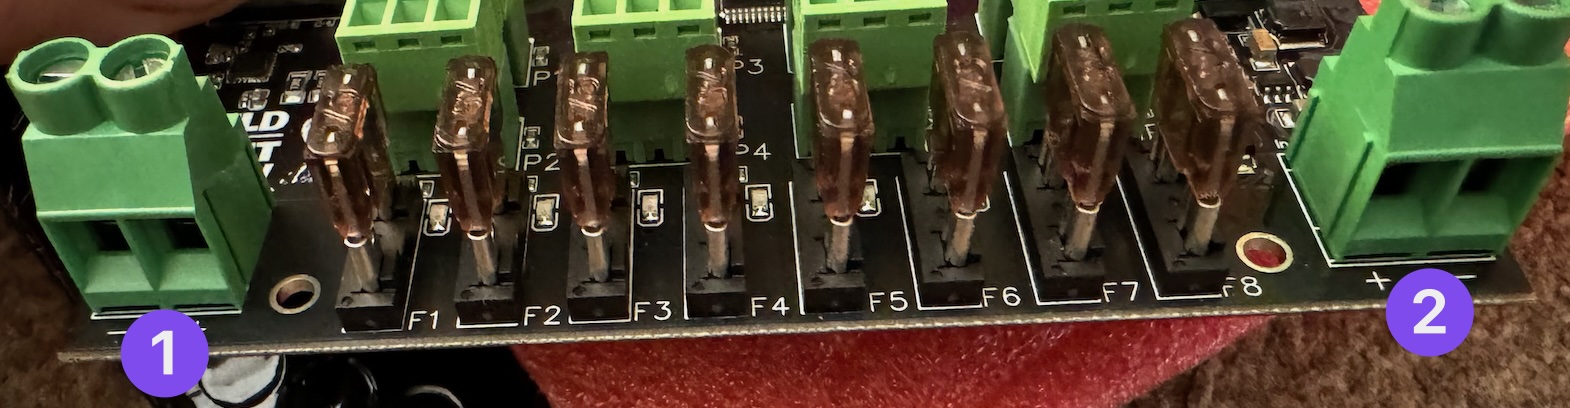
- Port 1 will power pixel ports 1 - 4
- Port 2 will power pixel ports 5 - 8
- Either port will automatically power the board, you do not need to configure this
- Both ports will handle between 5v to 24v and can be different voltages
As with all power connectors, please check for stray strands BEFORE turning on your controller, those aren’t the flashing lights we want to create.
What Cable Do I Use?
The thicker the cable the better (within limits), DO NOT use the wire your wall plug came with to link your power supply to your controller.
It is almost certainly not thick enough to handle the amps.
We recommend 10AWG cable wire at a minimum but please do further research for your requirements.
Step 2: Installing the Firmware
Initial Firmware Setup
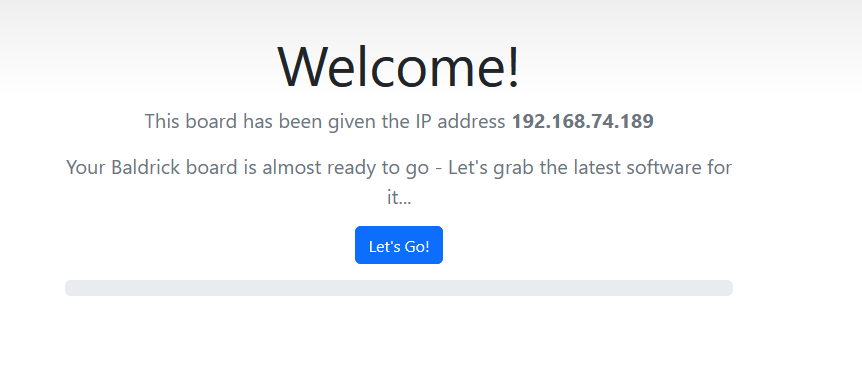
When your controller arrives it will be in a ‘sleeping state’ - you just need to plug it into your network and head to http://baldrickboard.local (if your DNS doesn’t accept that then just look for it on your network).
How to Install
To put it simply, press the button that says Lets Go then go and have a brew, the controller will connect to our server, download the latest firmware and automatically install it, once it’s done the page will refresh and you can start connecting pixels.
You must plug the board directly into your network for the initial firmware download (or make sure your computer can give it an IP address and internet access).
How Do I Update After That?
When you go to the Web interface and look at the stats section, you’ll see the version number, if there is a new version, you can click that and it will automatically update in a similar interface to how this initial install works.
Step 3: Connecting Pixels
It’s Time to Connect the Lights
To Pigtail or Not to Pigtail
We recommend adding pigtails to your controller rather than pixels directly.
Your controller will come with 3 port Phoenix connectors.
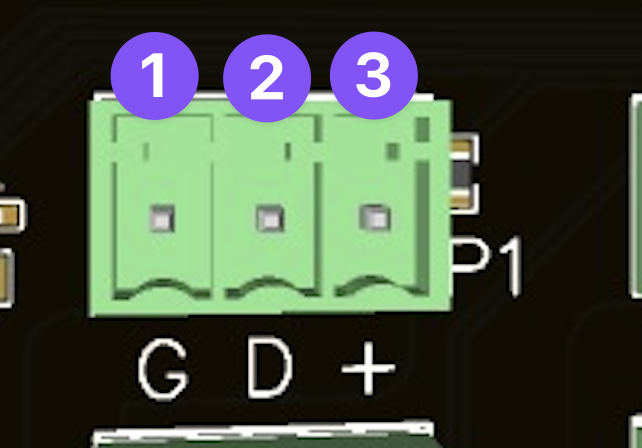
The Phoenix Connector Explained
- GROUND - The negative wire of your pixels (this is BLACK)
- DATA - The data in wire of your pixels (this is YELLOW)
- LIVE - The positive wire of your pixels (this is RED)
The colour suggestions are for BALS pixels, if you are buying from somebody else… then ask them.
Step 4: xLights Connection
Connecting with xLights
You can connect directly with xLights, look for Baldrick Controller under ilightthat.
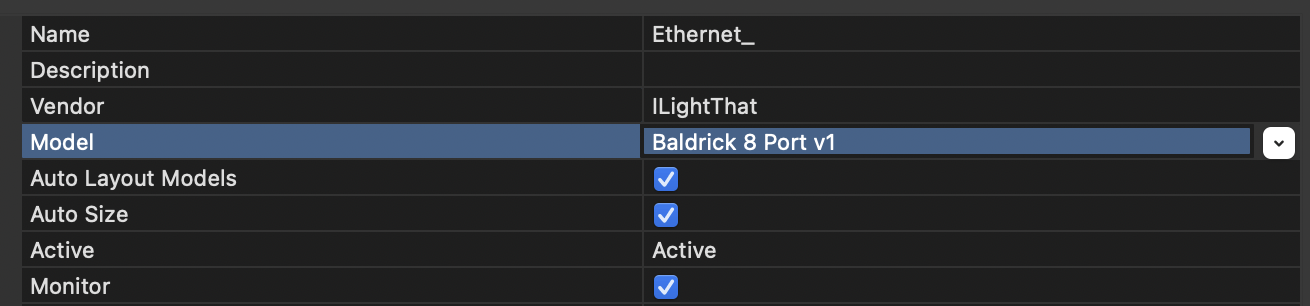
From here you can push your model settings directly to the controller and output to lights nice and easily!
You can either:
- Click Discover and xLights will automagically find the Baldrick8.
- Add the board manually by selecting ILightThat as a vendor and Baldrick 8 Port v1 as the Model. You will then need to put the IP Address in manually.
Web interface
Every Baldrick8 has a web UI. This page is what the buttons and pages actually do.
Stats Dashboard
System Information
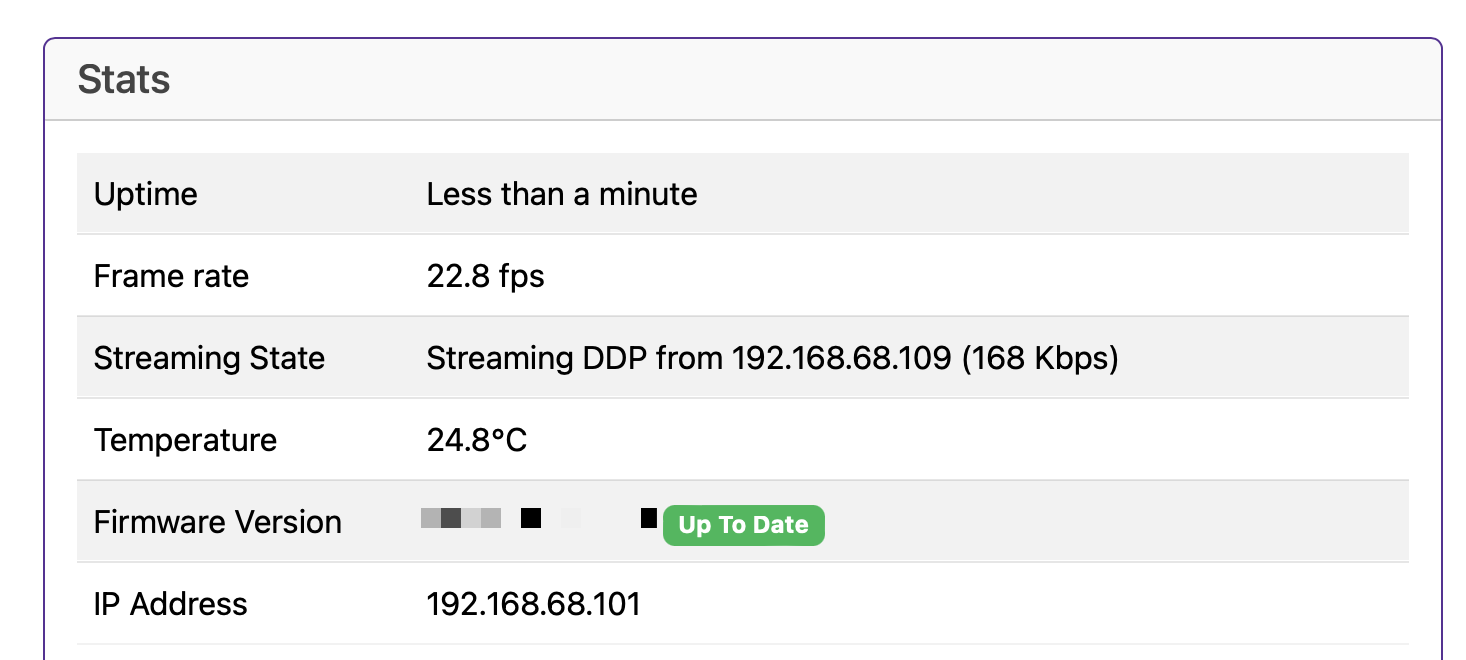
The Stats board gives you a heads up as to what’s going on with your controller.
Uptime
Tells you how long your controller has been powered on (this is useful in June to remind you that you forgot to turn it off over christmas)
Frame Rate
This lets you know what the FPS (Frames Per Second) the controller is currently outputting. The Baldrick8 has been optimised to output up to 2250 channels per port (which is 750 RGB pixels at 40fps)
Streaming State
Will indicate if the board is receiving data from a specific IP address and what type of data. The board will also show if two IPs are streaming to the board at the same time which is very useful for debugging those pesky problems.
Network Throughput
Like the FPS, this gives you an indication of the volume of network traffic passing through the controller, this should help with debugging.
Temperature
With a sensor next to the Ethernet connector, this gives you an indication of the board temperature (in Celsius because water freezes at 0, not 32.. how does that make sense?)
Generally, PCBs and components are good for -40 to +85°C. Anything below 60°C on this board is fine and nothing to worry about. If the temp is above that, try blowing on it like you would a hot chip out of the oven.
Firmware Version
The Baldrick8 is pretty new in the world of controllers and we’ve got a LOT of features left to add, this will let you know your current version and if there is a version to upgrade to.
(clicking the new version will upgrade it in place then restart the controller)
IP Address
It would be pretty silly to have a controller information box without showing you the IP Address of the controller wouldn’t it? That would be like launching a controller without being able to manage the networking.
Test Mode
Quick Testing & Troubleshooting
Test mode is one of the most important features of the Baldrick Board. If it’s two hours before switch on and something is going wrong, YOU NEED CLEAR INFORMATION QUICKLY.
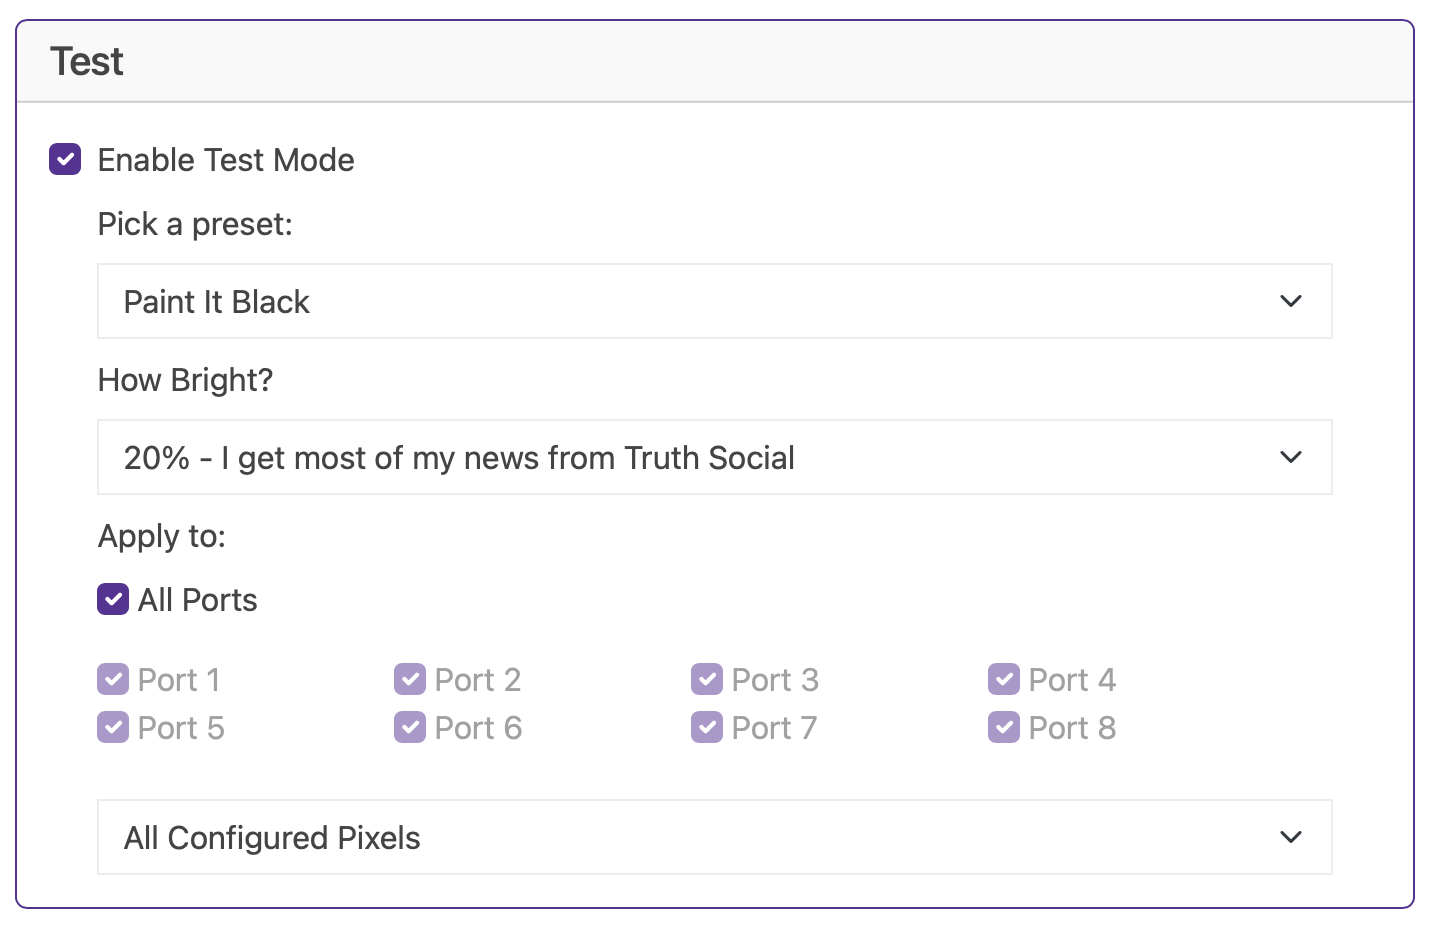
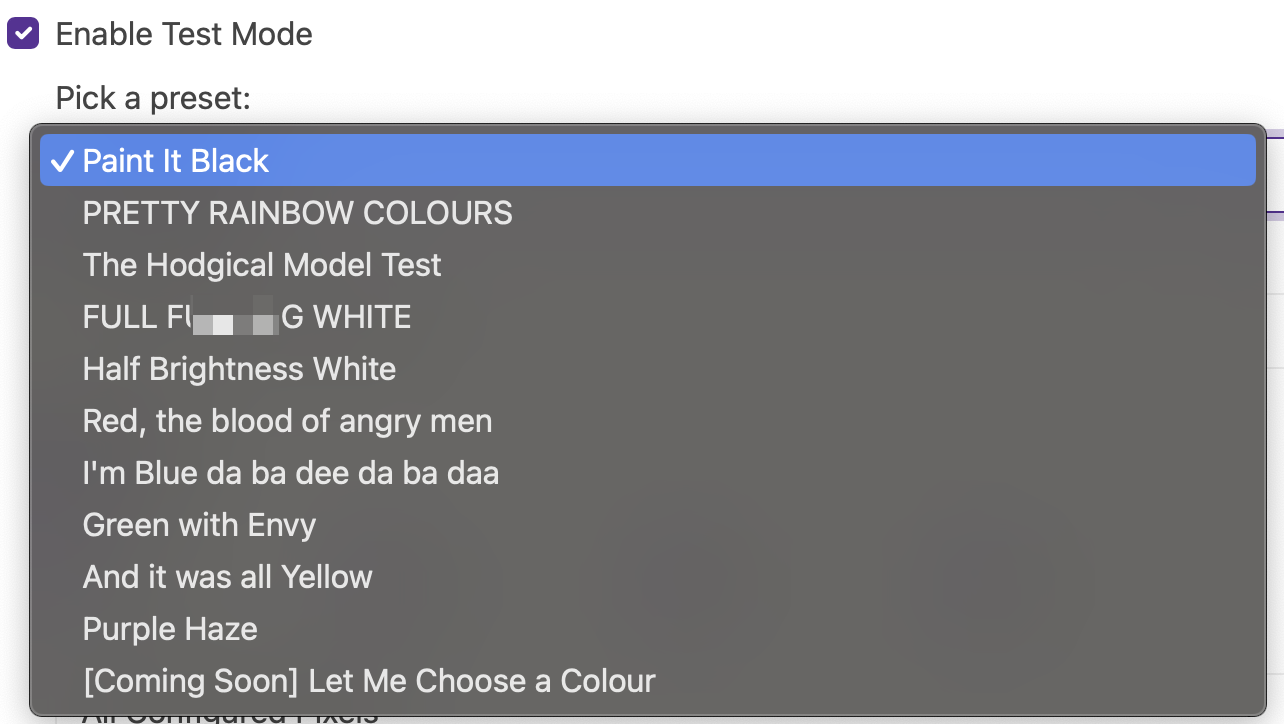
Colour Presets
We’ve created a bunch of presets to help you with your testing but we got bored with just writing colours so we thought we’d have some fun with the names.
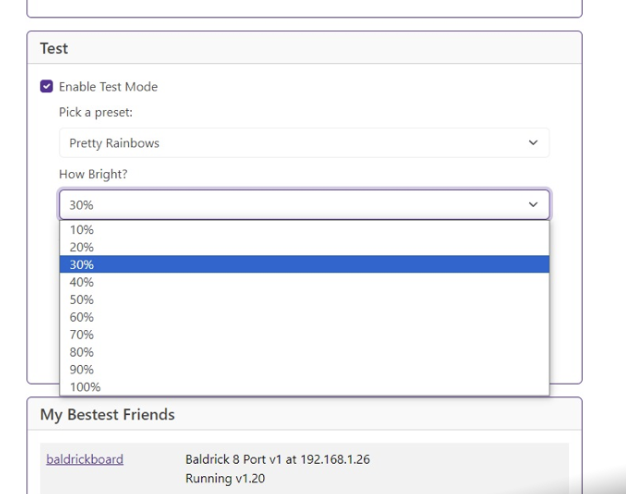
Brightness Control
Sometimes 100% is too much Have you done those power calculations correctly? so we give you the choice of brightness.
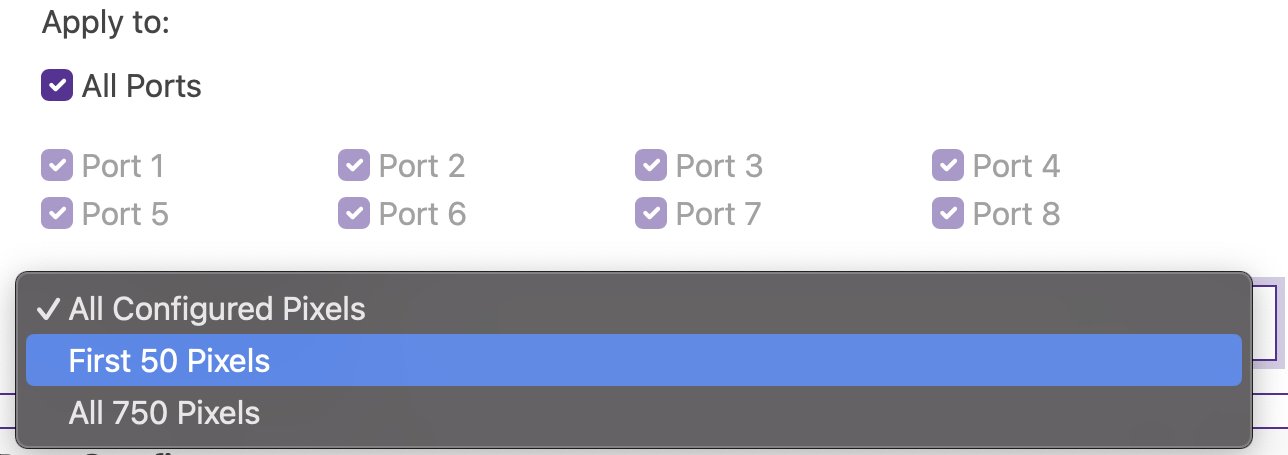
Apply to Specific Areas
Select your port (or all ports) then select if you want ALL configured pixels, 750 RGB pixels or 50 pixels.
Port Configuration
Manual Port Setup
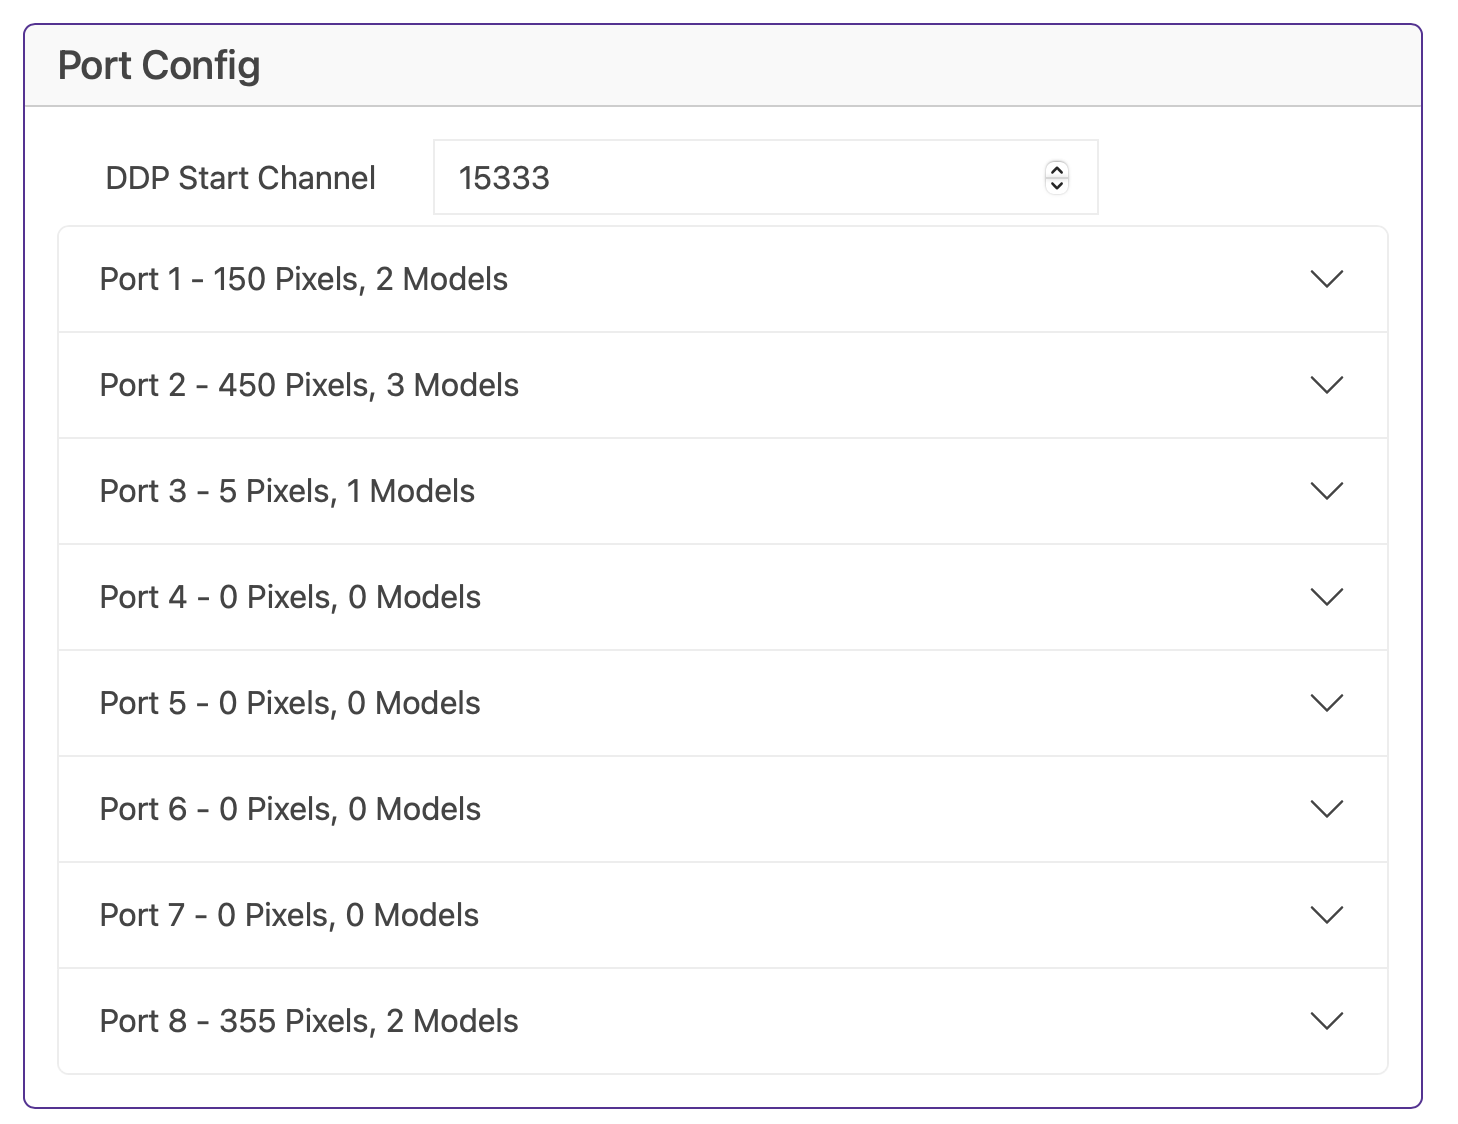
I’ll be honest, the Baldrick8 is designed on the basis that 99% of the time you’ll be pushing config directly from xLights to the board so you should never have to play with this section.
But if you do, you can drill down into each port, monitor and configure the models, the pixel count and brightness.
Networking Configuration
Good Defaults, Easy Config
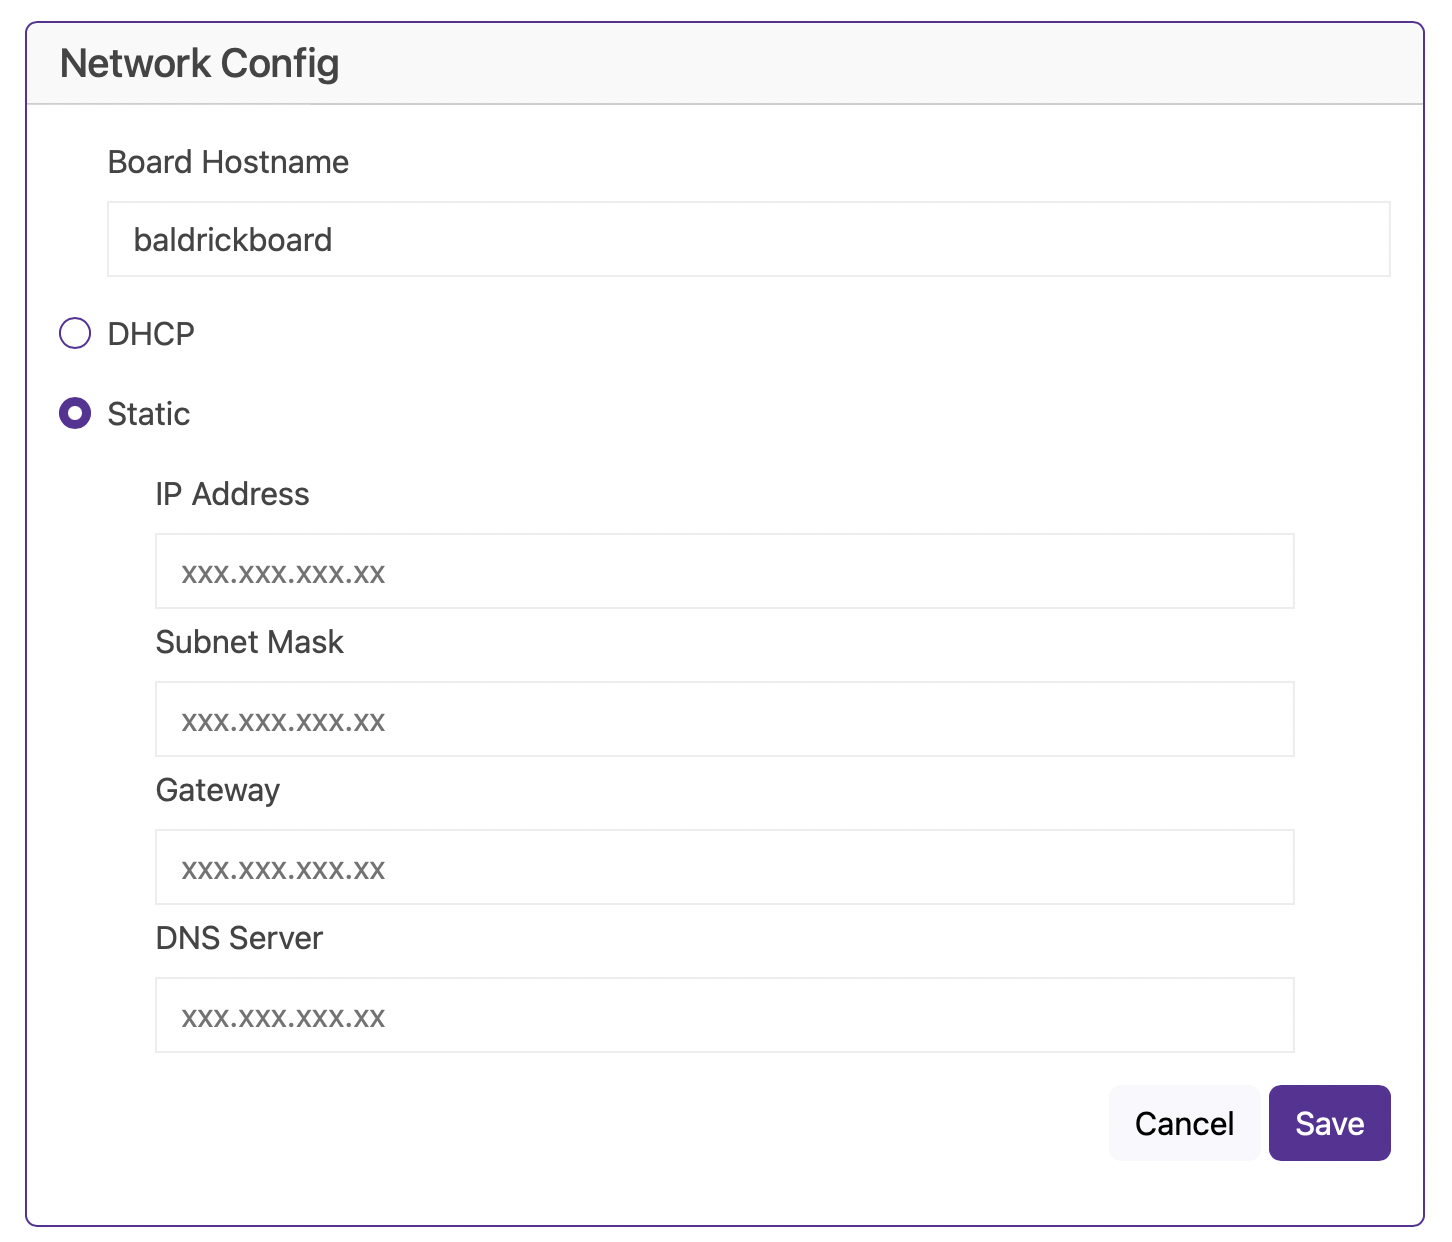
Hostname
The default hostname is baldrickboard (hence baldrickboard.local). If you have one Baldrick8 then it’s completely fine to keep this as it is, however if like us you want to collect a few of them, then we’d recommend you change this to something like frontgarden or upstairsroof
(Just a reminder that hostnames should be lowercase without spaces)
DHCP / STATIC
The default option is DHCP (which is Dynamic Host Configuration Protocol but you don’t need to know that) which basically means your router or computer gives the board an I.P. address. This is great for initial setup but when you want to run a show it’s best to switch it to STATIC, that’s where your controller tells the router / computer “This is my IP”.
IP Address
Set this to the IP address that you want the controller to be fixed to.
Subnet Mask & Gateway
It is more than likely that you can copy the Subnet Mask (the size of your network) and the Default Gateway (the exit point of your network) from the output of an IPconfig check.
DNS Server
DNS wise, typically, your default gateway is your router IP, and that more often than not, can provide your network with DNS. However, some people like to use “outside 3rd parties” DNS like google or cloudflares DNS. If you don’t know about this, its probably best just to stick to DHCP.
Button Configuration
External Input Triggers
The Baldrick comes with three inputs to attach external triggers (buttons, beam breaks, motion sensors) that can be configured when triggered to do a multitude of tasks.
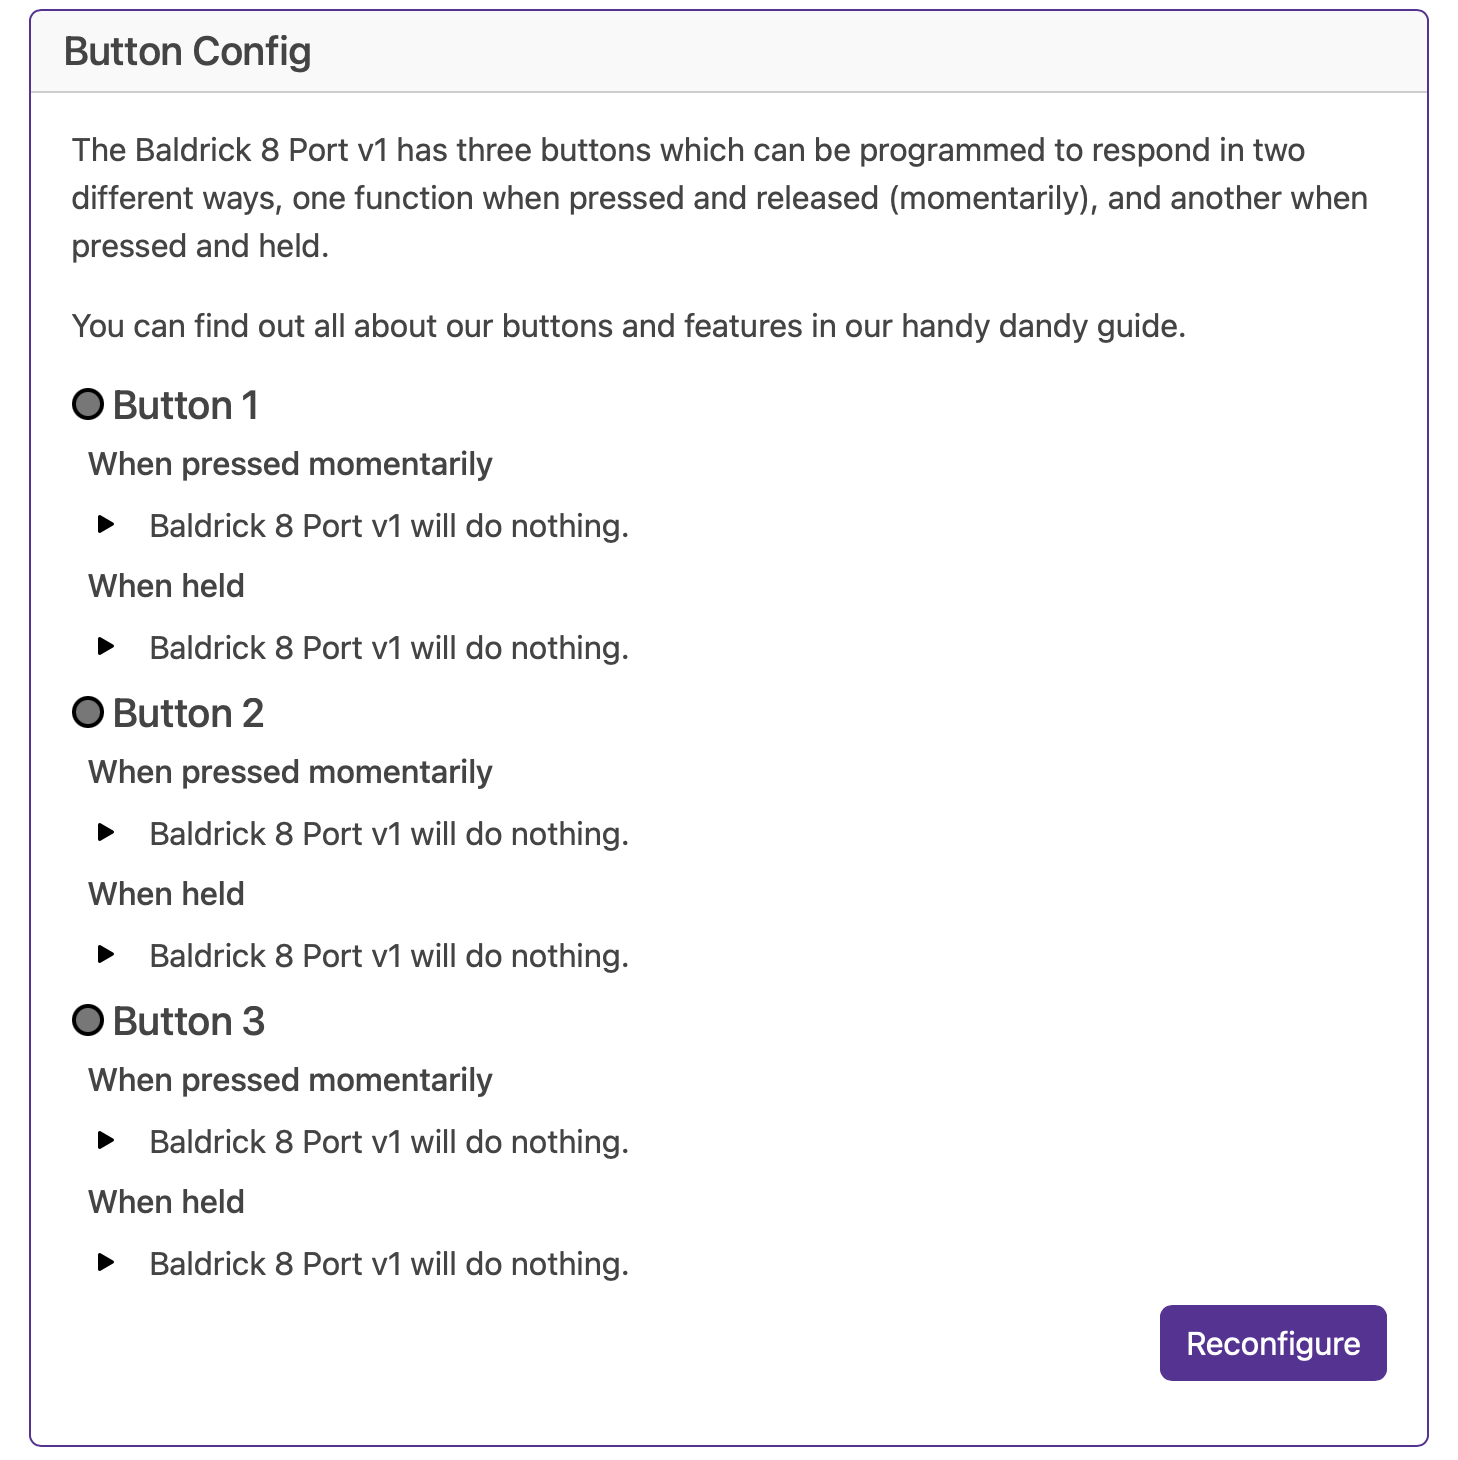
Each input has two action states - either pressed instantly or held. When an input is in the active state, the interface will show the status by highlighting the LED.
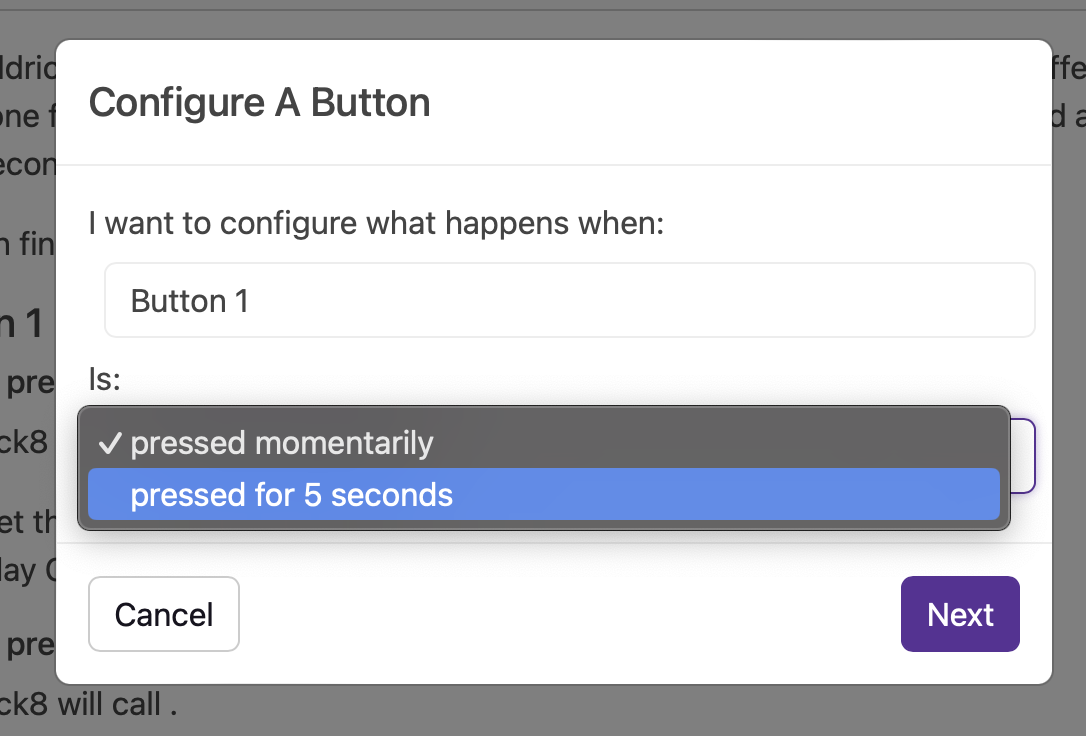
Available Actions
FPP Integration
Control FPP (Falcon Pi Player) instances, change volume, play songs/playlists, or call FPP API directly.
Toggle Test Mode
Quickly enable any test mode at a specific brightness for quick prop testing.
BaldrickSwitchy Control
Turn on/off BaldrickSwitchy ports for specific durations (bubble machines, snow machines, etc.).
BaldrickDMX Presets
Activate preset commands on your BaldrickDMX for moving heads, effects, etc.
HTTP URL Calls
Call web APIs from simple triggers - perfect for custom integrations.
Do Nothing
Sometimes you set an input to do something and think “oh actually no, that’s not what I want.”
FPP Integration Details
FPP (or Falcon Pi Player) is our recommended show player for the holiday lighting hobby. We’ve two ways of using FPP which have proper names but let’s call them ‘Easy’ (Control an FPP Instance) and ‘Advanced’ (Call an FPP API Directly).
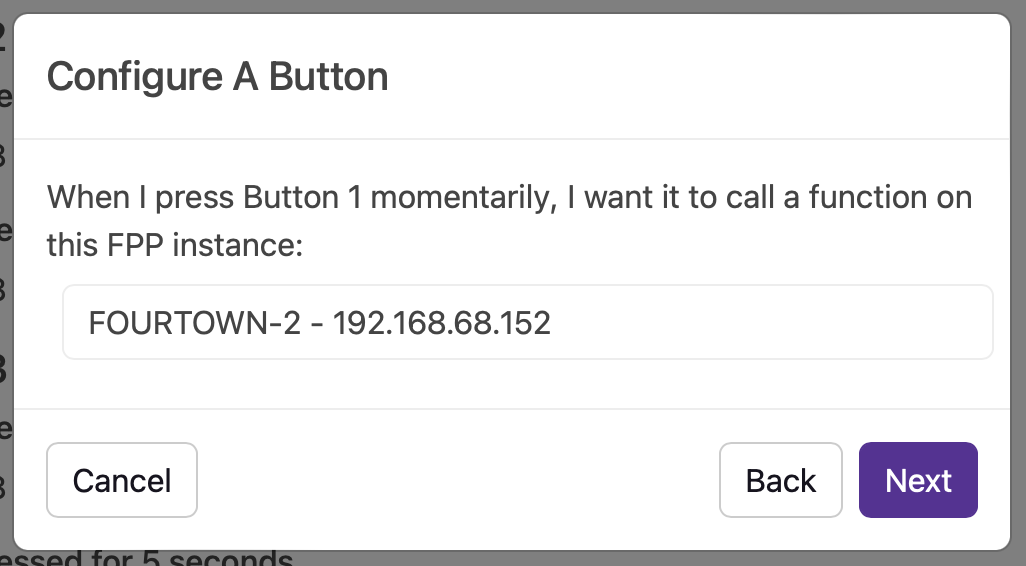
Both start off the same way by selecting the FPP instance that you’d like to interact with. If we can’t find it automatically you can put in an IP address.
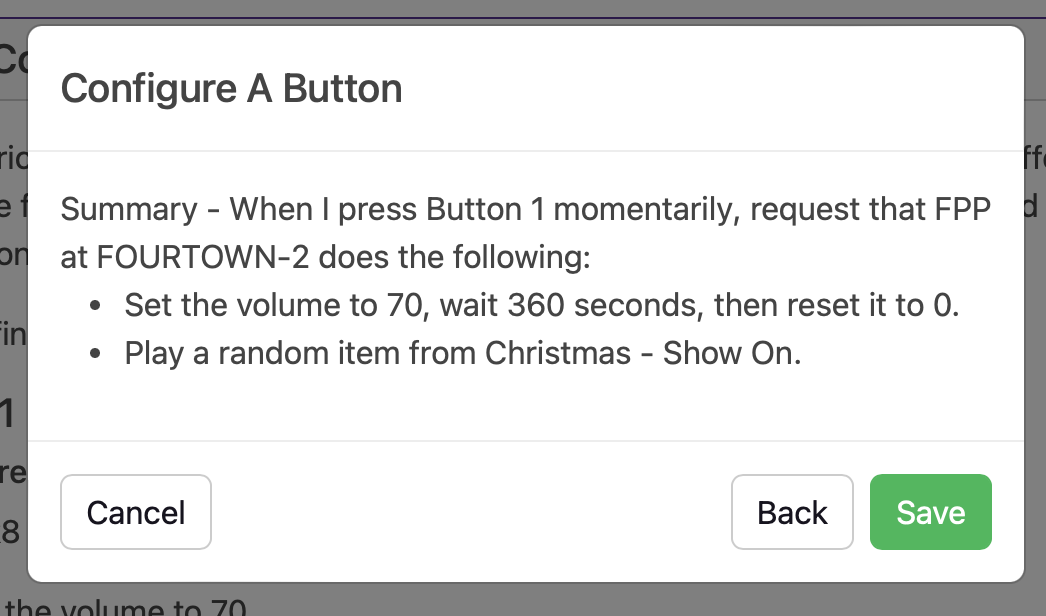
Control an FPP Instance
This section takes away having to use the scary API to ask FPP to do some things. For our initial version you can change the volume of FPP (either forever or for a period of seconds) or play a song / playlist / random song from a playlist.
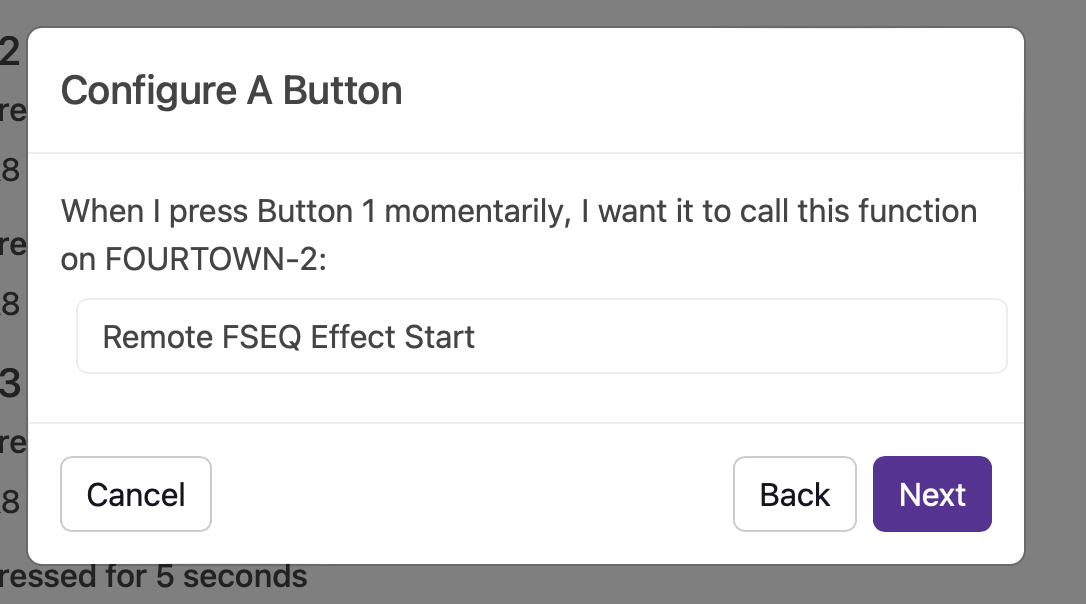
Call an FPP API Directly
If you want to get your hands dirty with FPP commands, here it is - almost everything you can do via the API direct and configurable to be executed via a Baldrick8 input!
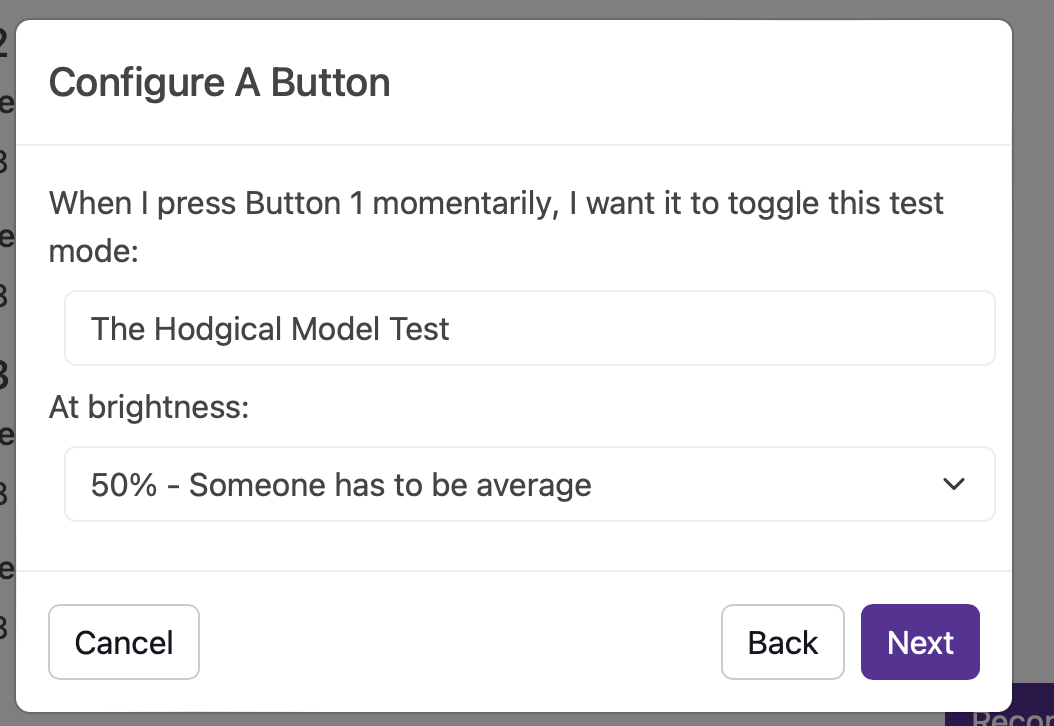
Test Mode Activation
Sometimes you just want to quickly test how the props look (or put something up when the neighbours pop round to ‘see how it’s going’). You can quickly enable any of our test modes at a specific brightness with the touch (or activation) of an input.
HTTP URL Calls
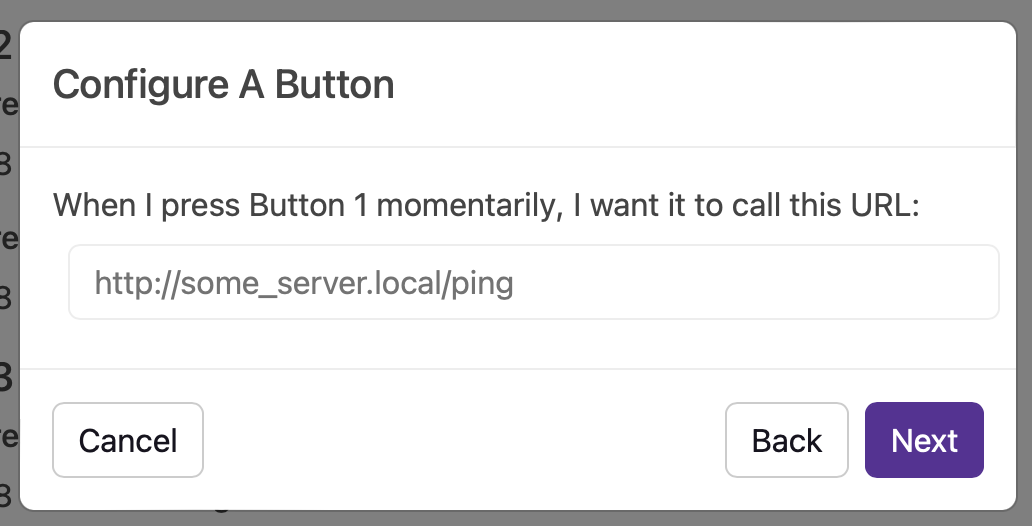
When we first launched the Baldrick8, we were so proud of this feature! Imagine being able to call a web API from a simple trigger!
When that’s all done, you might have a little something that looks like this.
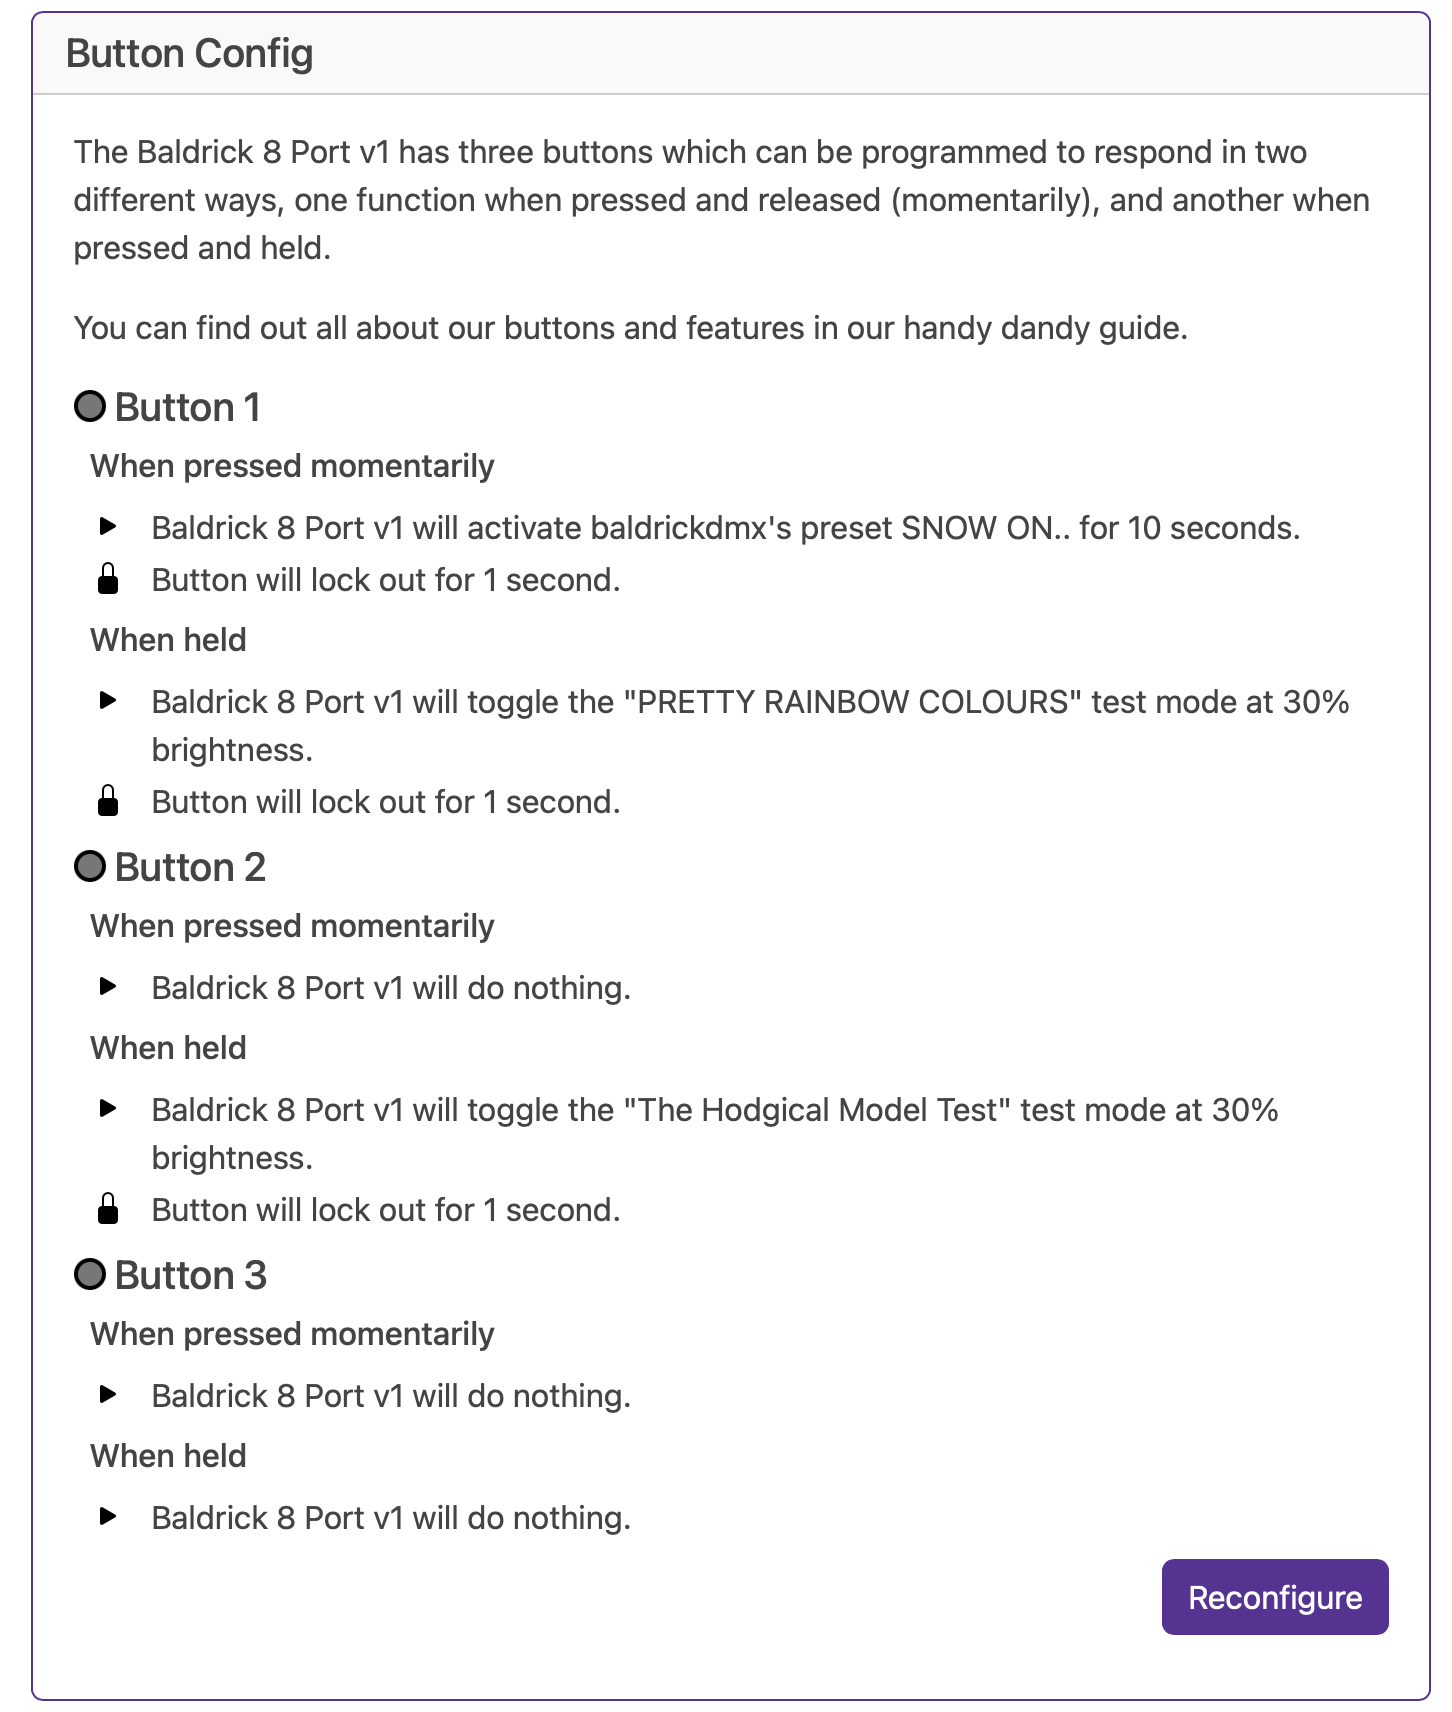
Technically some have three states as don’t forget the physical buttons on the board - these will activate the functionality AND have secret functionality.