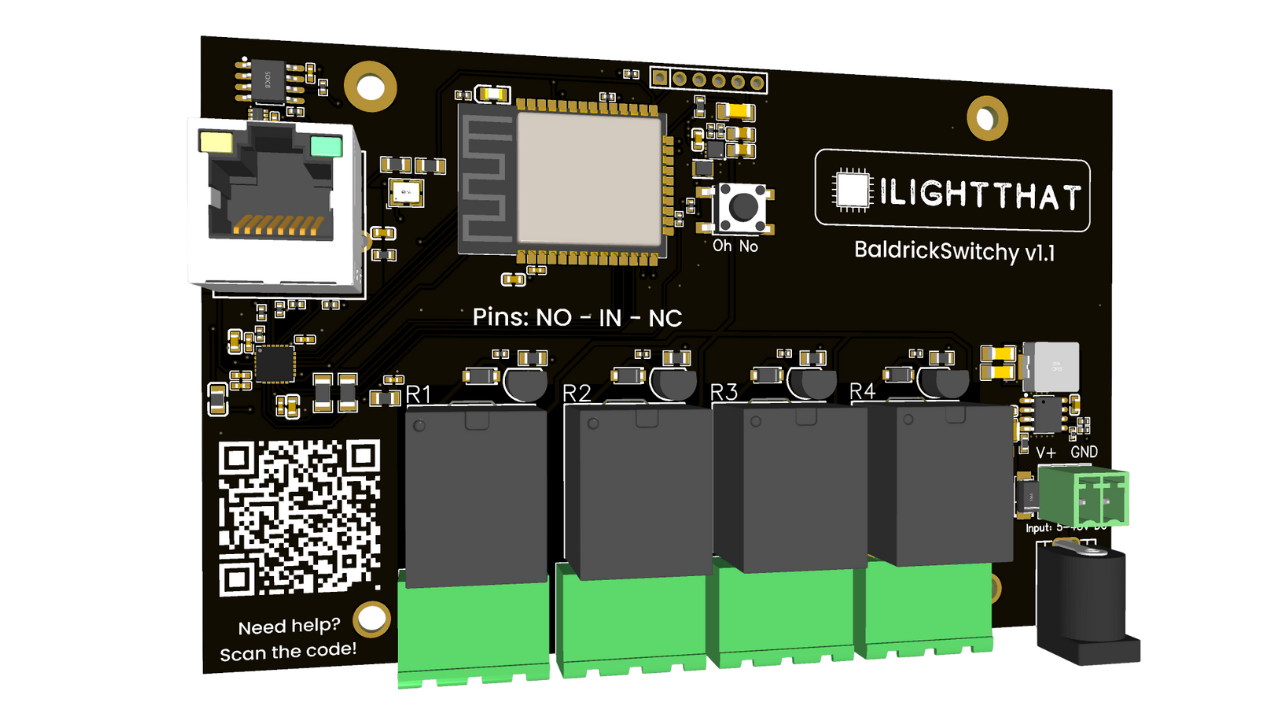
BaldrickSwitchy
Getting Started with BaldrickSwitchy
Setup and Configuration Guide
Getting Started with BaldrickSwitchy
You've just got your board through the post and you are really excited about getting started! WE KNOW, We've been there. These easy to follow steps will get you started in minutes!
1. Power Connection
Plugging in your controller
The BaldrickSwitchy has a barrel jack connection and can handle voltage from 5v to 24v, this is to make it easier to match whatever you are plugging in.
For technical users - barrel connector (centre positive) and we use 5.5x2.1mm barrel jacks.
Please remember you are just powering the board not the devices.
Always use a power supply
Never, ever EVER EVER EVER plug your controller directly into the wall outlet, it will go bang and you'll have to buy another one and explain to your partner what that burn mark on the kitchen table is.
You'll notice that a British plug has three wires and our power jacks inputs only have two that's because you need to put a power supply in between them.
We recommend the use of a variable power supply.
2. Installing Firmware
Installing the firmware
When your controller arrives it will be in a 'sleeping state' you just need to plug it into your network and head to http://baldrickswitchy.local (if your DNS doesn't accept that then just look for it on your network)
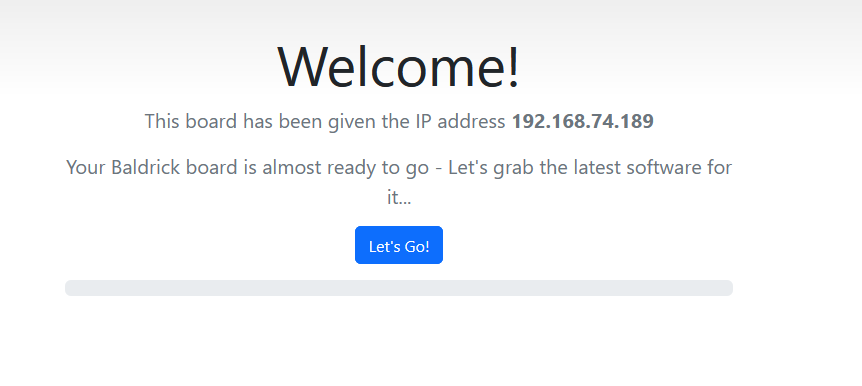
How to install
To put it simply, press the button that says Lets Go then go and have a brew, the controller will connect to our server, download the latest firmware and automatically install it, once it's done the page will refresh and you can start connecting devices.
It's not working?
You must plug the board directly into your network for the initial firmware download (or make sure your computer can give it an IP address and internet access).
How do I update after that?
When you go to the Web interface and look at the stats section, you'll see the version number, if there is a new version, you can click that and it will automatically update in a similar interface to how this initial install works.
3. Connecting Devices
Connecting Devices
The BaldrickySwitchy is pretty much exactly as it says in its name - It is a switch (or a set of switches!). It doesn't provide power, it doesn't change voltages, it doesn't dim - It switches.
A Switch makes or breaks a circuit, as seen in this picture:

So with this in mind, it would be impossible for us to list all the ways that you can connect devices but a very simple way of quickly integrating the BaldrickSwitchy is:
You can take a wire, cut it, and put each side of the cut wire into one of connectors then use BaldrickSwitchy to make the wire complete again when it is activated (BaldrickSwitchy leaves the circuit open/broken at rest, and closes/makes the circuit when activated).
That wire you cut could be:
- A live wire in a cable feeding a string of mains powered lights
- The power wire going into a "dumb" snow/smoke/bubble machine
- A 0v signal or control wire on a device that has a "button to activate"
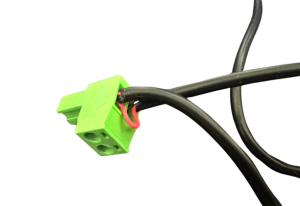
Here are two example images of integration of the Relay connector one with a USB powered device and the negative line cut:
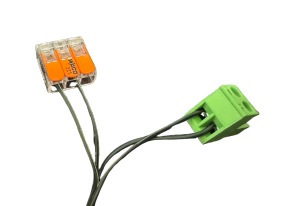
One with a mains powered device and both lines cut and the live connected via a WAGO:
Power Limitations
If you are planning to connect something powerful like a snowmachine, make sure that it will not draw more than 8amps of power (at 240v, that is about 2000w, or at 100v for the US folk, it is about 800w), as the relays on baldrick may get hot, melt or get stuck closed if you pull too much current (thats bad news!).
It's time to connect a device, now I don't need to say it but I will..
Safety Warning
BE CAREFUL, DO NOT DO ANY OF THIS WITH ANYTHING PLUGGED IN AND DO NOT REMOVE THE DARWINTRAY
4. xLights Setup
xLights Setup
Automatic Detection
You can connect directly with xLights, look for BaldrickSwitchy under ILightThat.
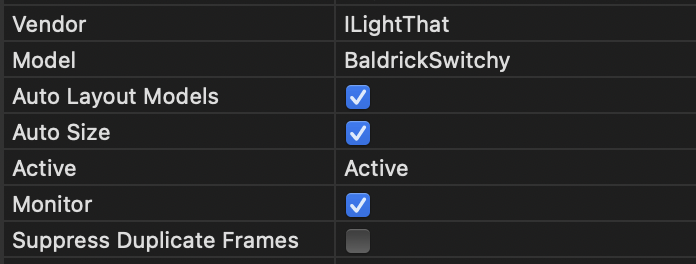
From here you can push your model settings directly to the controller and output to lights nice and easily!
Manual Addition
You can either:
- Click strong | Discover | and xLights will automagically find the BaldrickSwitchy.
- Add the board manually by selecting em | ILightThat | as a vendor and em | BaldrickSwitchy | as the Model. You will then need to put the IP Address in manually
xLights Visualizer
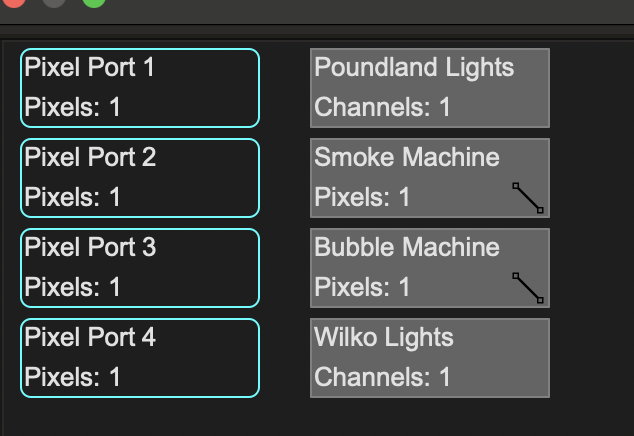
The BaldrickSwitchy will have four ports in xLights, surprisingly each one correlates to a relay on the board.
Layout Settings
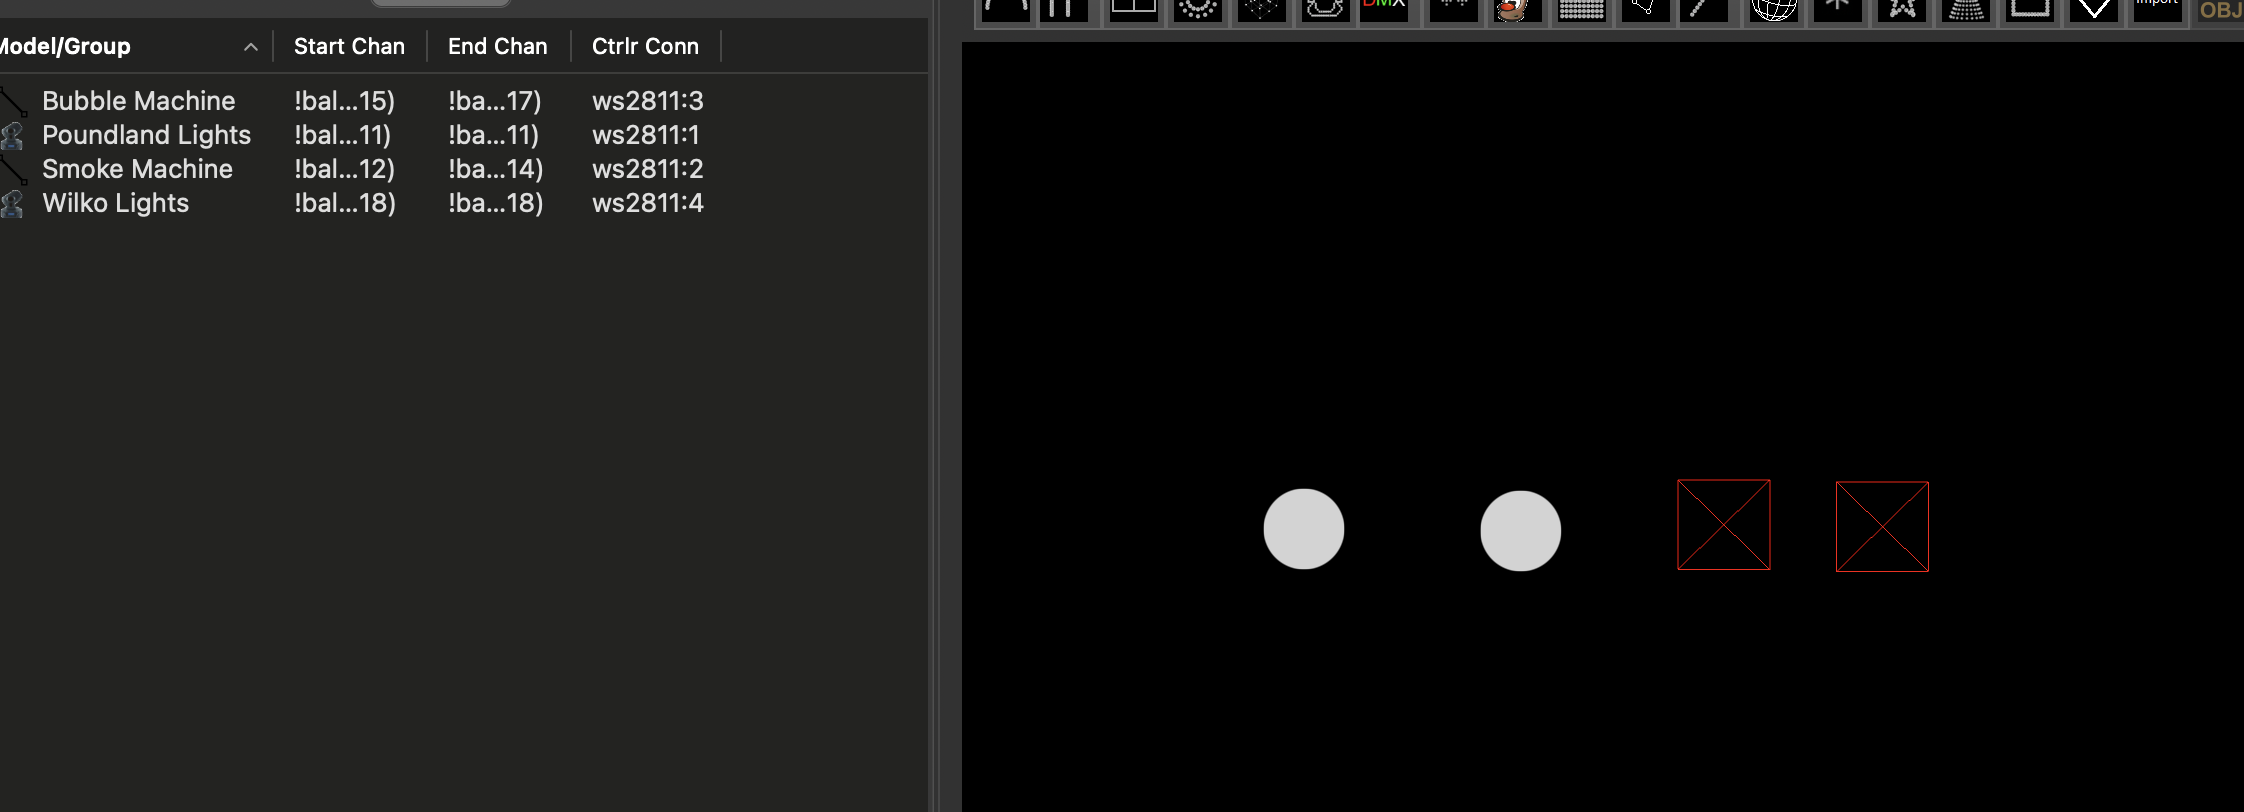
There are two simple ways to add a device to xLights in the layout, you can either add it as a single pixel or a single channel DMX Prop (we recommend DMX over Pixel to avoid confusion later on).
Sequencing BaldrickSwitchy
Sequencing BaldrickSwitchy couldn't be easier, you just turn it on! Oh sure there are fancy things you can do by having it on and off in sequence but at the very basic level, turn it on then turn it off.

Need Help?
If you encounter any issues during setup, check our FAQ or contact support.
